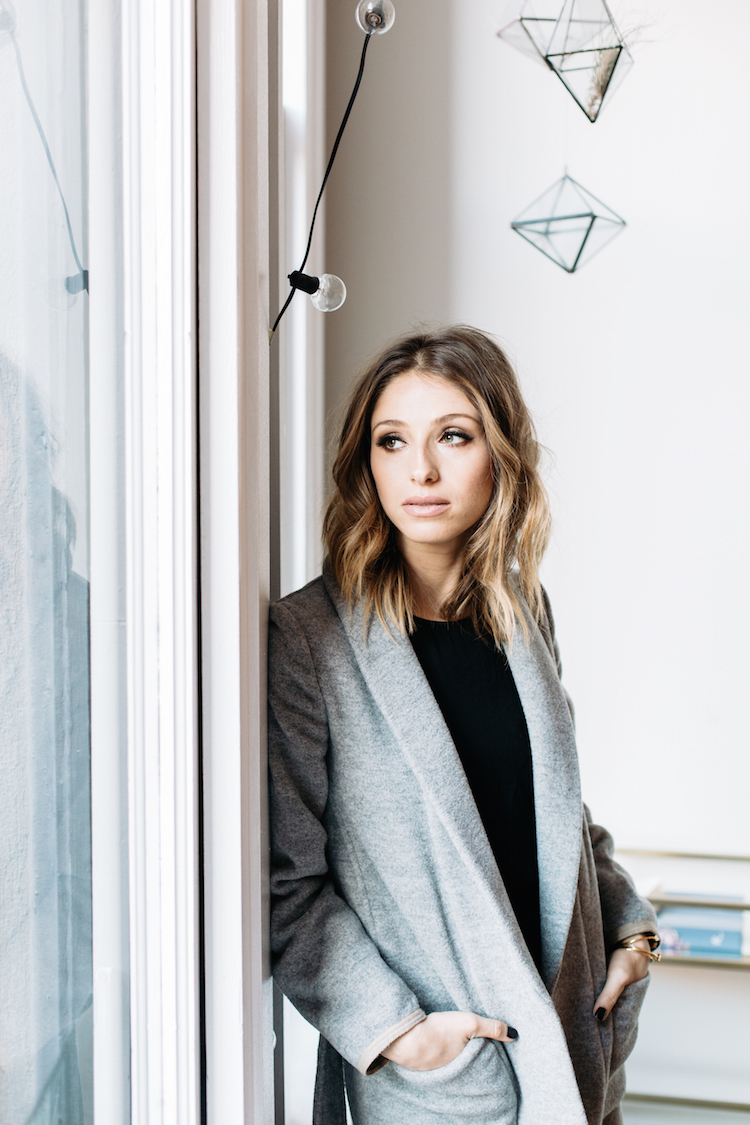

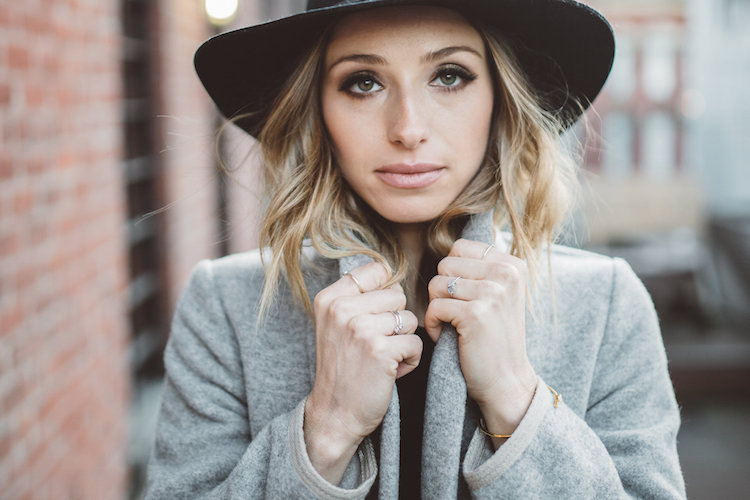
outfit details | Leah Alexandra jewelry
makeup by Katie Elwood
photography by Britney Gill
I’m excited to share the second look in my holiday makeup series with Katie Elwood (here is the first in case you missed it!) A smokey eye is my go-to for a party and while I have my own super quick version, I wanted a more glam, dramatic look. I love how Katie used bronze and gold shades, which is probably the most sparkle I’ll be wearing all season!
See below for Katie’s step-by-step smokey + false lashes makeup tutorial:
Eyes:
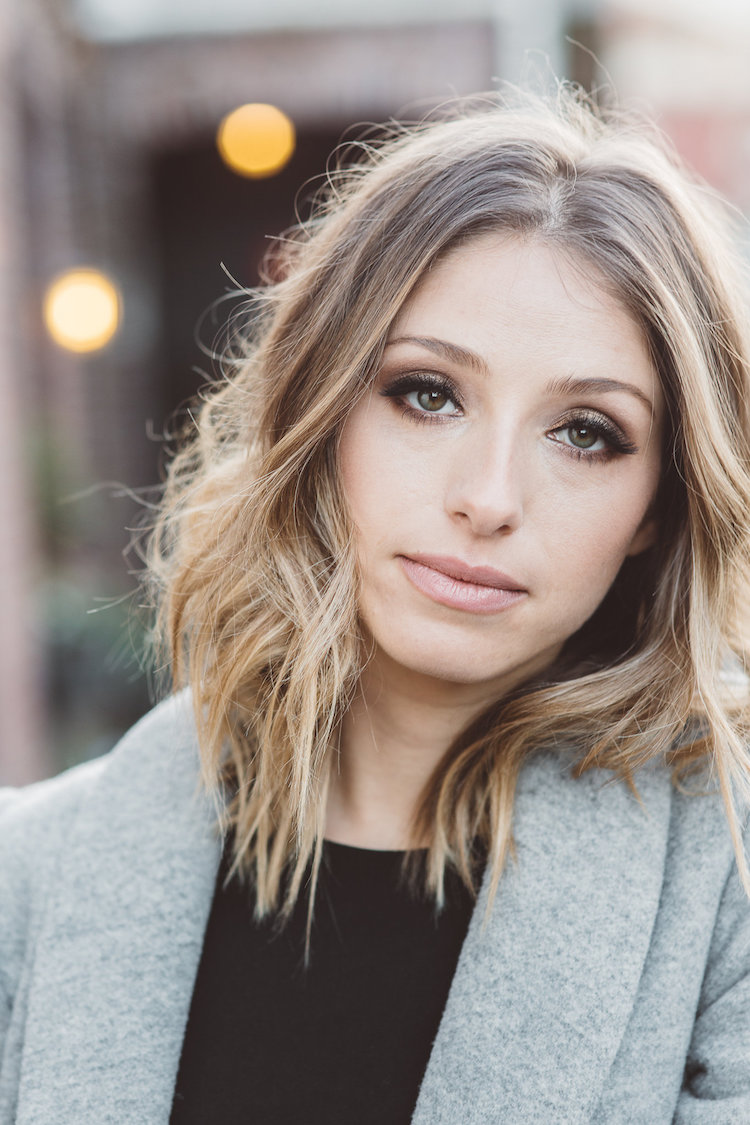
A smokey eye is a classic look that everyone can achieve in just a few simple steps. Here I used brown tones for a softer smokey look. If brown is not your colour, simply replace it with your fave shade. I will often do this same look with greys and purple toned shadows.
1. After priming the eyelid with Urban Decay’s Primer Potion I used Laura Mercier’s Caviar stick in Sandglow all over the lid. The caviar sticks are amazing pigmented cream shadows that have major staying power. One thing to note when using them is that they do dry fast so make sure to blend quickly and build the colour with them.
2. Next, I lightly blended a medium brown tone shadow in the crease and then use the Caviar Stick in cocoa to darken the outer corners of the eyes. Use these two colours to smudge underneath the eye at the lash line as well.
3. I lined the eye with Urban Decay’s 24/7 Black eyeliner and then smudged it with a matte black shadow using Shu Uemura’s Kolinsky Brush 10F.
4. For more intensity, I lightly blended the same matte black shadow in the outer corner and into the crease.
5. Lastly, highlight the inner corner of the eye and under the brow bone. Here I used Rodial Instaglam Magic Pen Glow.
Tip: When doing a smokey eye look, start with the eyes. After eyes are complete, simply clean up any fallout with makeup remover, prep with skincare and move onto foundation. This way you can avoid having to re-do foundation which can be a pain and take more time!
Lashes:
Applying a strip lash or a few individuals is a great way to take any makeup look up a notch. Depending on the intensity you want will determine what to use. A staple in my kit are individual lashes. Whether you are wanting a more natural lash or dramatic, you can achieve this with different lengths of individual lashes. My favourite part is that you can barely feel them once the glue dries. Here I used Ardell’s Double Flare Medium lashes. I applied them, then went on to complete the makeup look to allow the glue to dry. Then as the last step before lips I did a few coats of mascara (I know Jill’s favourite is Dior Diorshow).
Face + Brows:
For the face and eyebrows we followed the same steps as we did with the dark red lip look with the exception of the blush. I wanted to keep this look mainly about the eyes so I only contoured and highlighted the cheekbones.
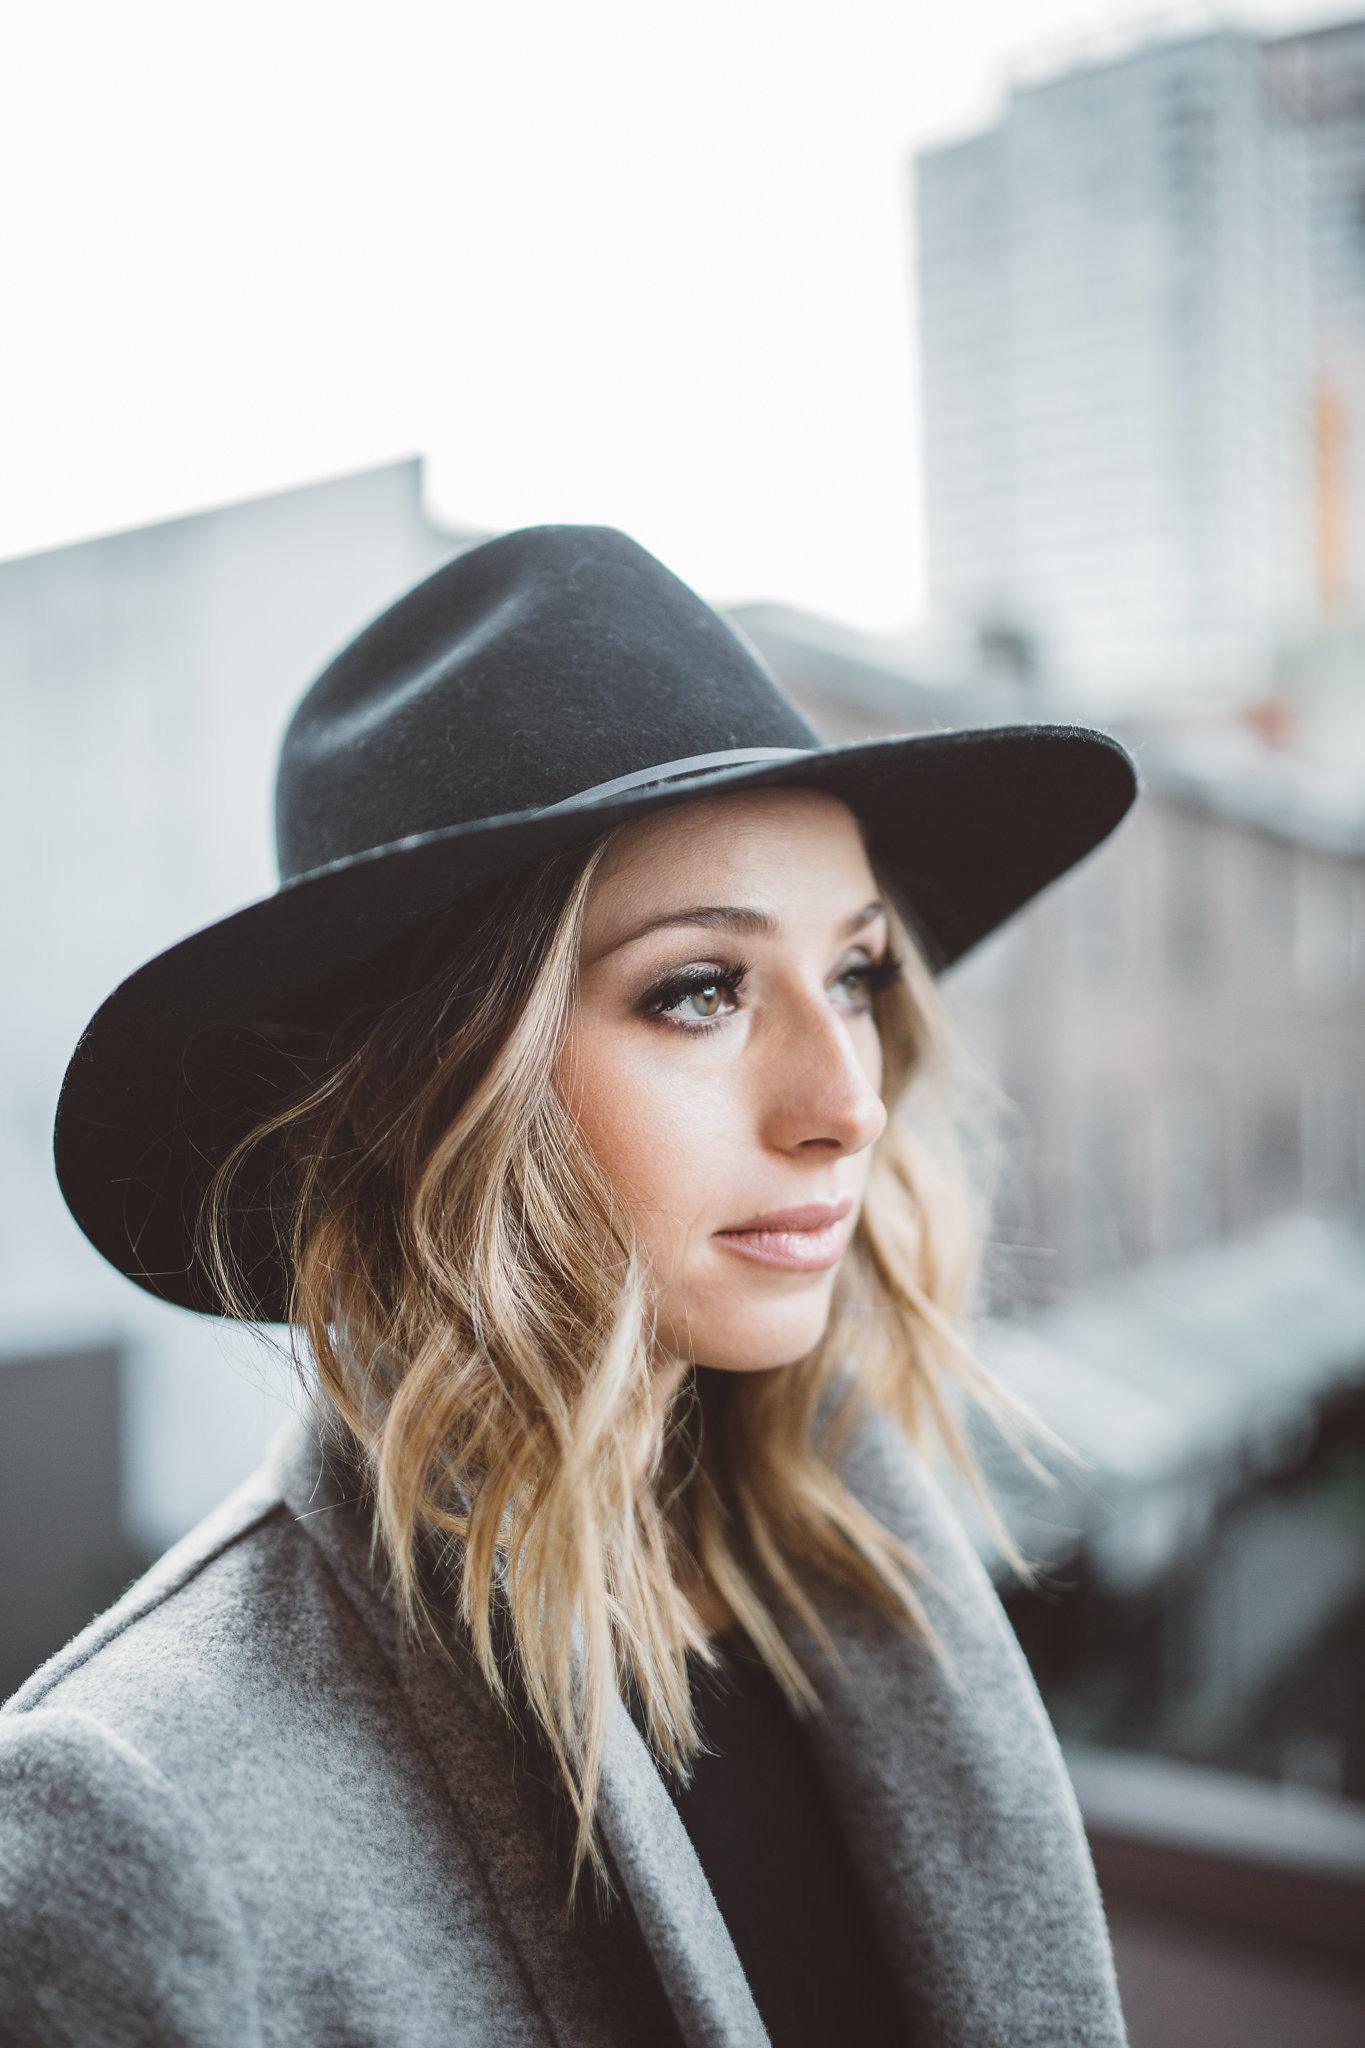
Lips:
Not everyone can rock an ultra nude lip but Jill nailed it. Here I used MAC Subculture to line the lips and then applied MAC Hue to finish. Don’t forget to hydrate the lips well, nothing looks worse than a dry nude lip so avoid this by properly prepping the lips. One product I love for this is BITE Beauty’s Agave Lip Mask. Apply this with your skincare and then blot off right before applying lipstick.
Here is the first look we did with dark lips and bare eyes and stay tuned for the last look coming up this week… Which is your favourite so far?
I’m off on a winter adventure today, be sure to follow along on Instagram and Snapchat (augustdiaries)!
Love it!! A bronze smokey eye is such a nice alternative to an all-black smokey look. Adds a bit of holiday sparkle 😉 xo